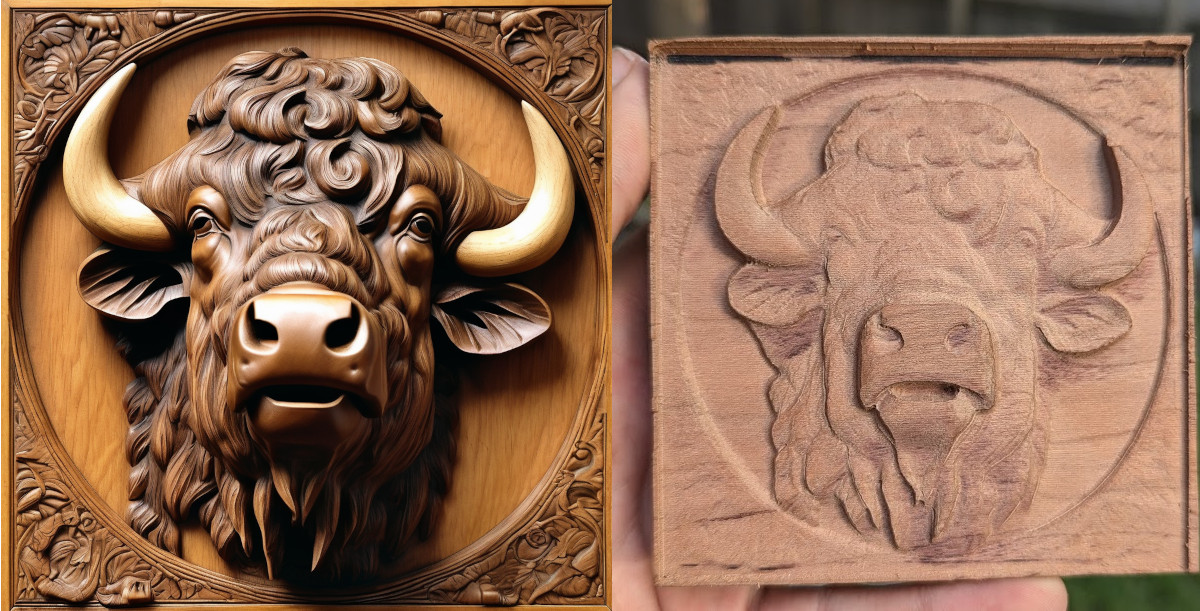
This post goes over how you can go from an AI generated image to a relief carving.
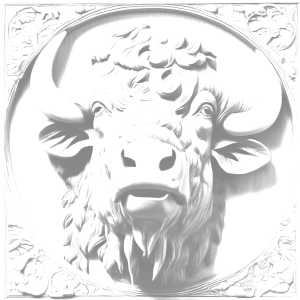
The first step is to generate your image. I used Automatic1111’s Stable Diffusion WebUI with the SDXL model. You can see the result above on the left. I kept my prompt simple with just: wood carving of buffalo, albrecht durer, wood relief, and a negative prompt of abstract. This is a ripe area for trying different inputs. Find a screenshot of all the options I used here.
The next step is to generate a depth map from this image. For this I used Marigold. That link takes you to a site where you can generate the maps for free. From the depth outputs tab, download the xx-xxx_depth_16bit.png file. You can get an idea of the output geometry by selecting the Bas-relief (3D) tab. I had trouble getting that output to work with my CAD software, so instead I wrote my own post-processing script. relief_postprocessing.py takes an input PNG, converts it to a relief mesh, optimizes it, and adds a base.
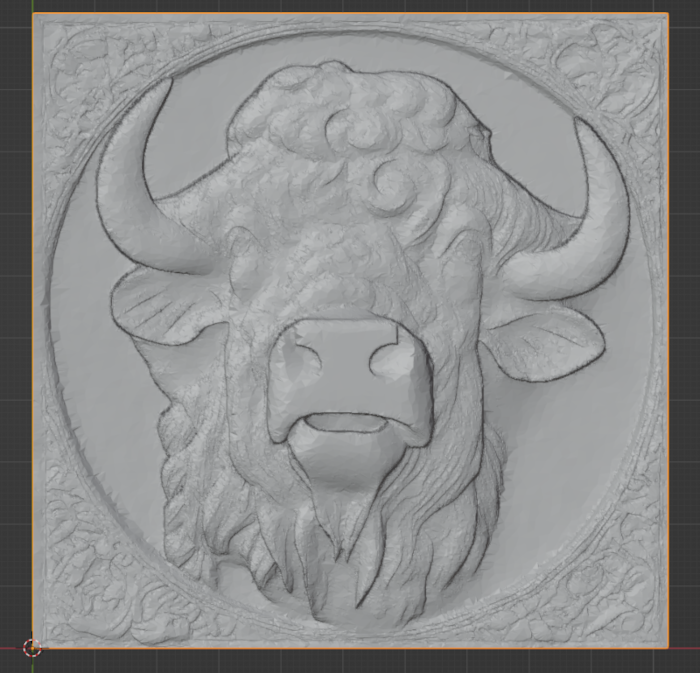
Note there’s a little bit of awkwardness in the way the relief just rests on the base:

I think it resulted in some weirdness around the edges, likely due to the way I cut down on the number of faces on the relief. I plan on fixing this on the next go-round.
Next I loaded this STL file into Fusion 360 and set up the machine (Makera Carvera in my case). I generated three passes:
- A roughing pass first with the “Pocket Clear” strategy and a 3.175mm Spiral ‘O’ Single Flute bit.
- A finishing pass with the “Parallel” strategy and a 2mm Two Flute Ball Nose bit.
- An engraving pass with the “Contour” strategy and a 0.2mm 30° Engraving bit.
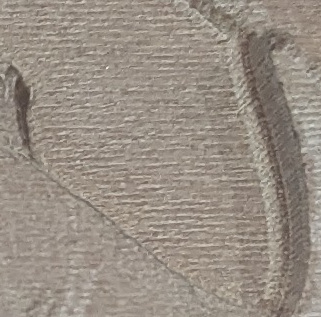
Up close you can see the striations from the parallel pass, I plan on experimenting with different strategies and bits.
Finally to add depth to the carving I did a laser burning pass. I took the image and set the contrast and brightness super high so I would only get the darkest areas of the image:
I then created the path in the Makera CAM, setting it at 20% power. This added some really nice shading to the piece (minus the burn at top where I had the settings wrong):
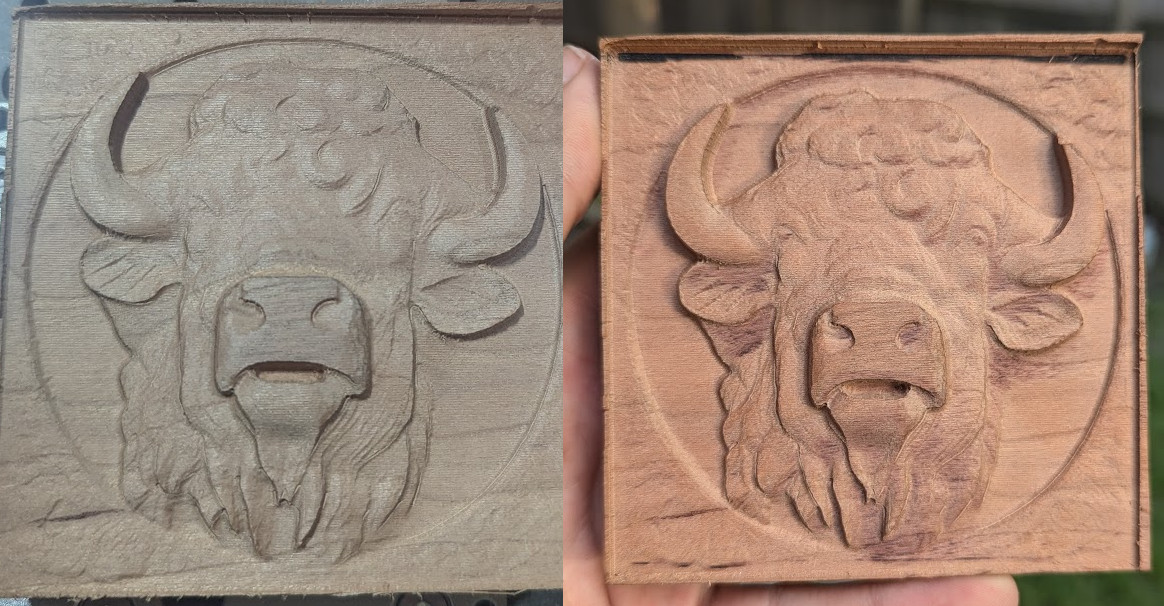
A little more power or a little more shading would likely look good, this is another step I want to play with.
Other than a couple of mistakes I made I’m very happy with this piece. There’s lots of opportunity for cool output from StableDiffusion!
