I recently bought a Makera Carvera desktop CNC machine. While it comes with a vacuum the suction strength is a little lacking. Thankfully they include an external connector to attach more powerful vacuums to. However, the connector doesn’t fit my household vacuum. I need a part! This is the perfect chance to test the thoughts I’ve been developing on this blog, let’s see if I can get an LLM to work for this.
At first I gave ChatGPT only a little bit of information, the kind a regular user would write down:
I want to use CADQuery to make a hollow connector. On one end I need a circular socket with an outer dimension of 22 mm and a width of 1mm. On the other end I need a circular socket with an outer dimension of 38 mm and a width of 1mm.
Quickly I learned that you want to give GPT as much information as you can or it’d struggle to make good choices. I revised the prompt to this:
I want to use CADQuery to make a connector between two circular sockets from a vacuum to an air intake.
On the air intake end I need a circular socket with an outer dimension of 22 mm, a thickness of 1 mm, and a length of 17 mm.
On the other end I need a circular socket with an outer dimension of 38 mm, a thickness of 1 mm, and a length of 40 mm.
Between them should be a hollow tube that connects both sockets.
This indicates the process of going from a small description to a full one should be a pre-processing step, utilizing the LLM to figure out what variables are missing.
Despite my instructions the first program failed to create the tube and didn’t properly hollow out the insides:
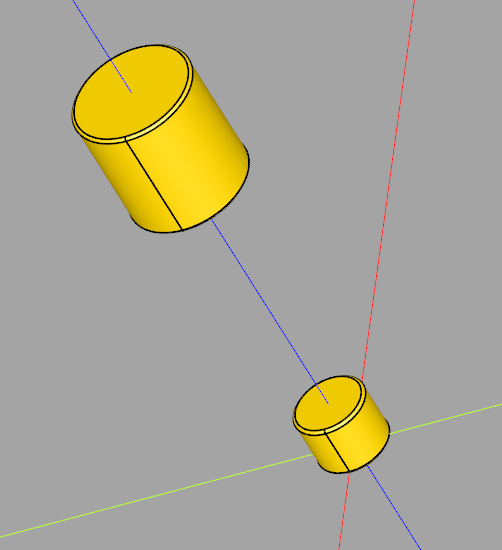
Telling ChatGPT “It needs to be hollow” worked, but I couldn’t get it to understand that the tube was messed up in text.
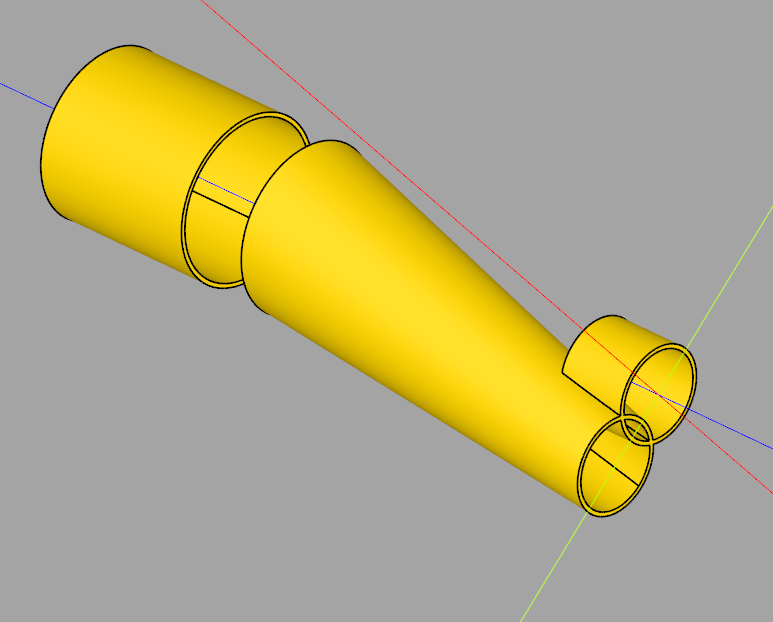
Shockingly all I needed to do was send the above picture and the next program it provided worked! (I also adjusted the tube length, which I failed to specify originally.)
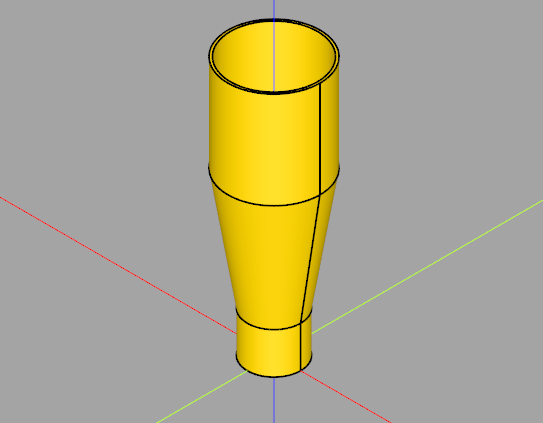
I exported the STL file from CADQuery and imported it onto Cura, where I printed it on an Ender 3. Tada:
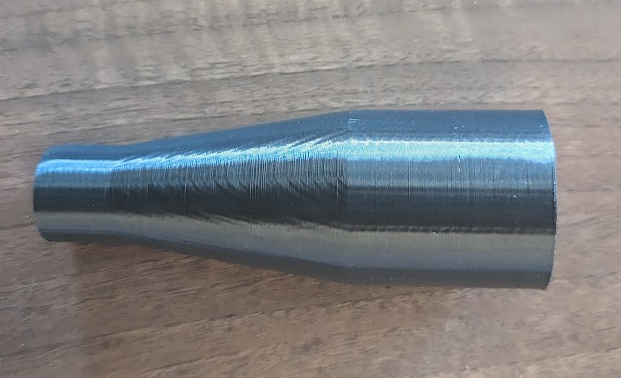
Let’s see it in action:
It works! The only question mark is that the outer diameters of the sockets are ~0.5 mm smaller than they should be, while the lengths are correct. The nozzle size of the printer is 0.4 mm, so perhaps this is a slicing issue? If this is the case, my experience with finetuned LLMs like Flux suggests that, as long as this issue is somewhere in the dataset or retrieval data, a user could troubleshoot this through interaction with an LLM. Further I would expect a finetuned model to not make the kinds of simple mistakes above like not hollowing out the parts when asked to.
